Homemade Peanut Butter Cups with Maple Filling
Highlighted under: Home Baking Ideas
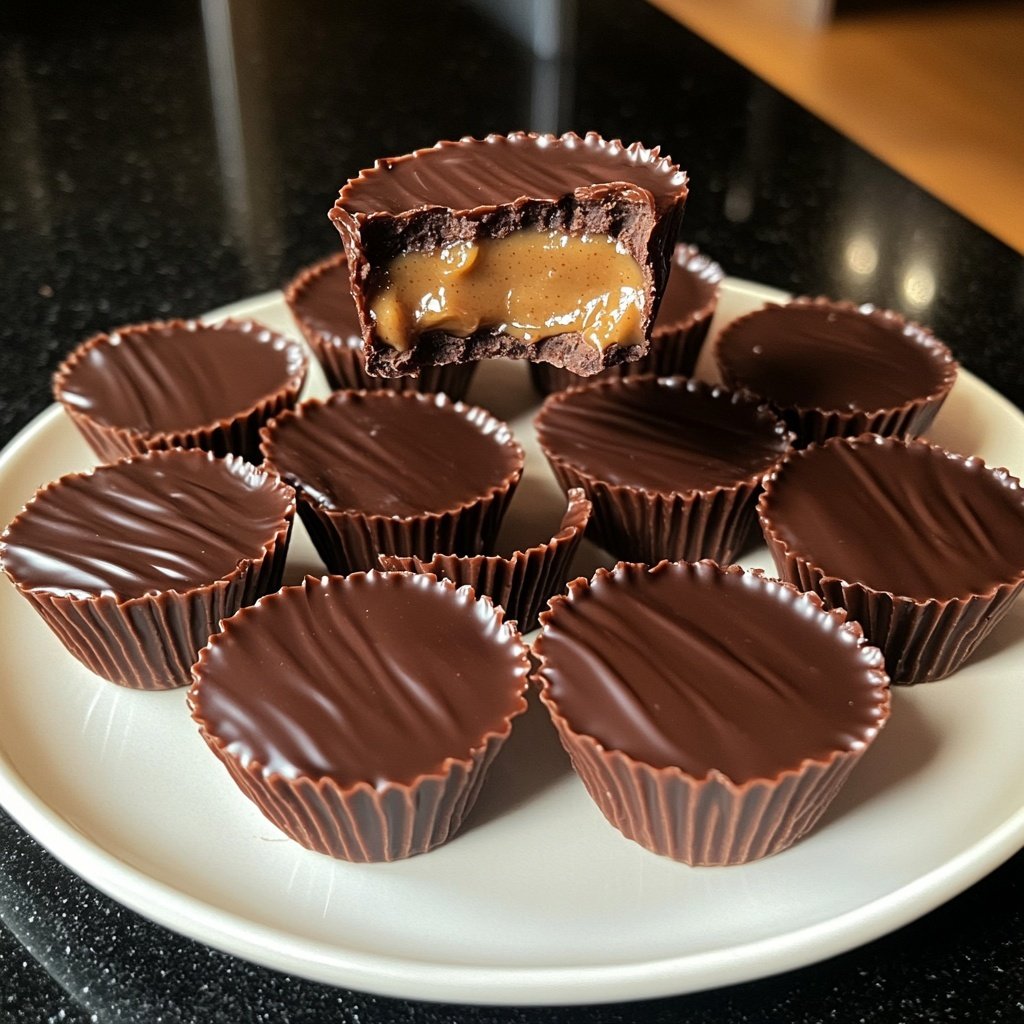
I love making these Homemade Peanut Butter Cups with Maple Filling because they combine my two favorite flavors in the most delightful way. The rich chocolate exterior contrasts perfectly with the creamy maple-infused peanut butter center. Whenever I get the craving for something sweet, this recipe fits the bill. Plus, they are simple to prepare and require minimal ingredients, making it easy to whip up a batch for a quick treat or to share with friends.
When I first tried making peanut butter cups at home, I was amazed at how easy it was to create such a decadent treat! The addition of maple syrup to the peanut butter filling adds a unique sweetness that elevates the classic flavor profile. I discovered that gently melting the chocolate and allowing it to cool slightly before dipping makes for a smoother coating.
This homemade version is not only a fun kitchen project, but it's also customizable! I often find myself experimenting with different nut butters and sweeteners, which is part of the fun. Each time I make them, I learn a little more about achieving the perfect balance of flavors and textures.
Why You'll Love These Peanut Butter Cups
- Rich chocolate flavor paired with sweet maple filling
- Creamy peanut butter center that satisfies your sweet tooth
- Homemade goodness that's easy to customize with your favorite flavors
The Importance of Quality Ingredients
The success of your Homemade Peanut Butter Cups rests significantly on the quality of your ingredients. Choose high-quality dark chocolate chips; look for at least 60% cocoa content to ensure a rich and satisfying flavor. Additionally, the peanut butter should be creamy and free from added sugars or oils to maintain the pure taste of peanut and maple in each bite.
Using pure maple syrup instead of artificial syrups enhances the flavor profile immensely. A pure variety offers a deeper, more complex sweetness that perfectly complements the nutty peanut butter. If you're looking for a substitute, consider using honey, but be aware that it will alter the flavor slightly.
Techniques for Perfecting Your Cups
When melting the chocolate, ensure you do so gradually to avoid burning. Using the double boiler method is a great alternative to microwaving if you prefer more control. Just bring a small pot of water to a simmer, then place a heatproof bowl on top so it doesn't touch the water, stirring until the chocolate is smooth and glossy. This technique also helps prevent seizing.
Even distribution of the filling is crucial for consistency in flavor and texture. When layering the chocolate, pour just enough to cover the bottom and create a nice seal. If there's too little chocolate, the filling might spill out or leak during refrigeration. Tap the tray on the counter gently after pouring to level everything out and release any trapped air bubbles.
Ingredients
Ingredients
For the Cups
- 1 cup dark chocolate chips
- 1 tablespoon coconut oil
For the Filling
- 1 cup creamy peanut butter
- 1/4 cup pure maple syrup
- 1/2 teaspoon salt

Instructions
Instructions
Melt the Chocolate
In a microwave-safe bowl, combine the dark chocolate chips and coconut oil. Microwave in 30-second increments, stirring in between, until fully melted and smooth.
Prepare the Molds
Line a muffin tin with paper liners. Pour a small amount of melted chocolate into the bottom of each liner, enough to coat the bottom. Use a spoon to spread it up the sides.
Make the Filling
In a separate bowl, mix the peanut butter, maple syrup, and salt until well combined. Scoop a spoonful of the peanut butter mixture into each chocolate-coated liner.
Seal with Chocolate
Top the peanut butter filling with more melted chocolate, making sure to cover it completely. Tap the muffin tin gently to remove air bubbles.
Chill and Serve
Refrigerate the cups for about 15 minutes or until the chocolate has hardened. Enjoy your homemade peanut butter cups!
Pro Tips
- Feel free to experiment with different nut butters or add chopped nuts for extra crunch.
Make-Ahead and Storage Options
These Peanut Butter Cups can be made ahead of time and stored for up to a week in the refrigerator. Just place them in an airtight container to prevent any moisture absorption or transfer of flavors. If you're planning to make a larger batch, you can freeze them too. Just ensure they are separated by parchment paper to avoid sticking together.
When freezing, place the cups in a freezer-safe container. They can last up to three months, making them an excellent treat for later. To enjoy, simply take them out and allow them to thaw in the fridge for a couple of hours or at room temperature for about 30 minutes.
Variations and Creative Twists
Feel free to experiment with the fillings! Adding crushed pretzels, shredded coconut, or even a dash of cinnamon to the peanut butter mixture can create a delicious twist. For a chocolate overload, consider layering a thin layer of melted chocolate in the mold before adding the peanut butter filling and topping with more chocolate.
If you're a fan of different nut butters, almond or cashew butter could be delightful substitutes for the peanut butter, offering their unique flavors and nutritional benefits. Just make sure to adjust the salt according to the brand you choose, as some varieties are saltier than others.
Questions About Recipes
→ Can I use milk chocolate instead of dark chocolate?
Yes, you can use milk chocolate if you prefer a sweeter flavor, but it may alter the overall taste of the cups.
→ How should I store leftover peanut butter cups?
Store them in an airtight container in the refrigerator for up to a week.
→ Can I make these vegan?
Yes, use dairy-free chocolate and ensure your peanut butter is vegan-friendly.
→ What can I substitute for maple syrup?
You can use honey or agave syrup as an alternative, but it will change the flavor slightly.
Homemade Peanut Butter Cups with Maple Filling
Created by: Sophie Adams
Recipe Type: Home Baking Ideas
Skill Level: Beginner
Final Quantity: 12 cups
What You'll Need
For the Cups
- 1 cup dark chocolate chips
- 1 tablespoon coconut oil
For the Filling
- 1 cup creamy peanut butter
- 1/4 cup pure maple syrup
- 1/2 teaspoon salt
How-To Steps
In a microwave-safe bowl, combine the dark chocolate chips and coconut oil. Microwave in 30-second increments, stirring in between, until fully melted and smooth.
Line a muffin tin with paper liners. Pour a small amount of melted chocolate into the bottom of each liner, enough to coat the bottom. Use a spoon to spread it up the sides.
In a separate bowl, mix the peanut butter, maple syrup, and salt until well combined. Scoop a spoonful of the peanut butter mixture into each chocolate-coated liner.
Top the peanut butter filling with more melted chocolate, making sure to cover it completely. Tap the muffin tin gently to remove air bubbles.
Refrigerate the cups for about 15 minutes or until the chocolate has hardened. Enjoy your homemade peanut butter cups!
Extra Tips
- Feel free to experiment with different nut butters or add chopped nuts for extra crunch.
Nutritional Breakdown (Per Serving)
- Calories: 120 kcal
- Total Fat: 9g
- Saturated Fat: 2g
- Cholesterol: 0mg
- Sodium: 50mg
- Total Carbohydrates: 10g
- Dietary Fiber: 1g
- Sugars: 6g
- Protein: 2g